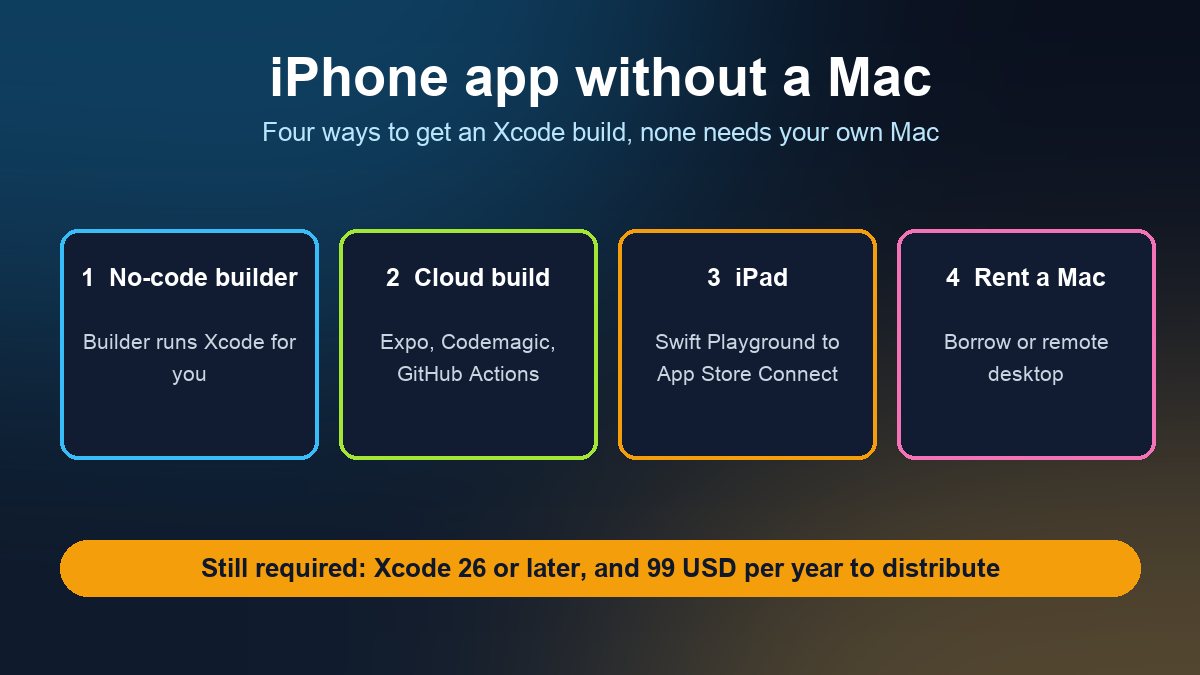
Short answer: yes, you can build and publish an iPhone app without owning a Mac, but not without a Mac somewhere in the chain. Apple's build tool, Xcode, only runs on macOS, and since April 28, 2026 every app uploaded to App Store Connect must be built with Xcode 26 or later against the iOS 26 SDK. Your options are to let someone else's Mac do the building: a no-code app builder, a cloud build service for cross-platform code, an iPad running Swift Playground, or a rented or borrowed Mac. What you cannot avoid is Apple's 99 USD yearly Developer Program fee once you want real users.
This guide is for small business owners, students and Windows or Chromebook developers who want to put an app on iPhones without buying hardware first. It explains what Apple actually requires, the four workable routes, what each one costs, and the shortcut that looks tempting but breaks Apple's license. Facts come from Apple and the build services' own documentation, checked on 5 November 2026.
What Apple actually requires
Three requirements decide everything else:
- Native iOS apps are built with Xcode. Apple's Xcode support page lists the macOS versions each Xcode release runs on; there is no Windows or Linux edition. Cross-platform tools such as Flutter or React Native still call Xcode in the final step to compile the iOS app.
- The SDK floor moves every year. Apple's Upcoming Requirements page says that since April 28, 2026, apps uploaded to App Store Connect must be built with Xcode 26 or later using the iOS 26 SDK (and the matching iPadOS, tvOS, visionOS and watchOS 26 SDKs). An old Mac, or a cloud service stuck on an older Xcode, cannot produce an uploadable build.
- Uploading is also a tool choice. Apple's App Store Connect help says you can upload a build using Xcode, Swift Playground, altool or Transporter, or automate it with the App Store Connect API. Transporter is a macOS app, so the upload step also needs a Mac or a service that runs these tools for you.
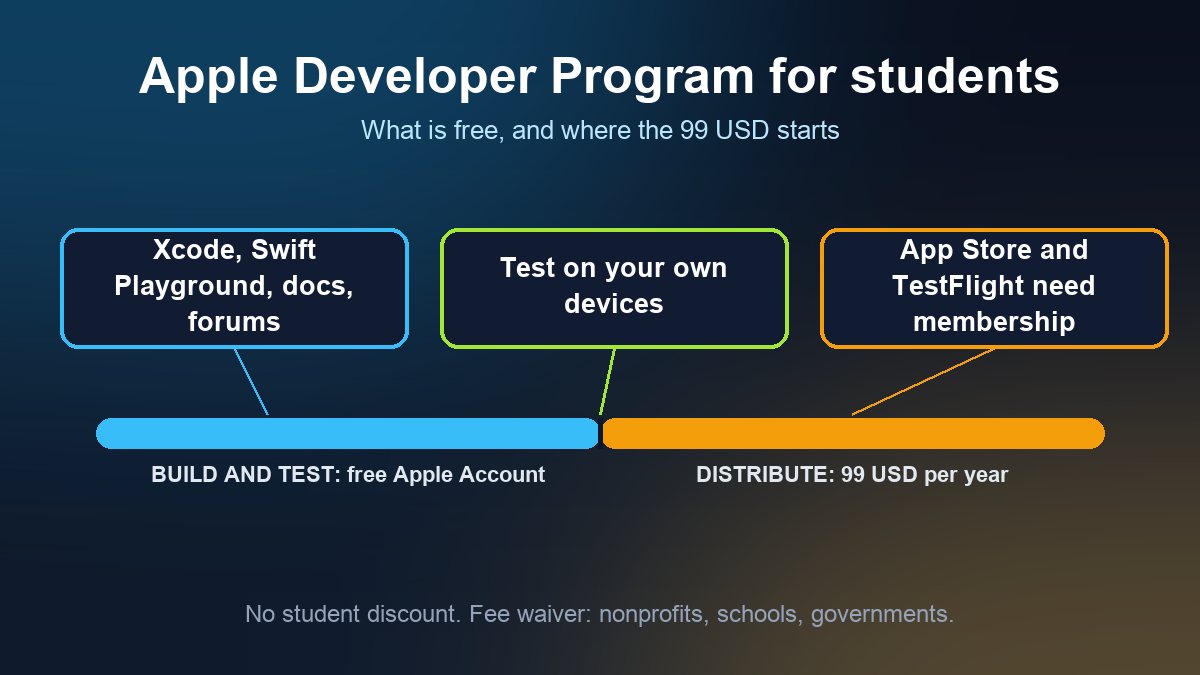
Distribution needs the paid membership. Apple's membership comparison lets anyone with a free Apple Account build and test on their own devices, but the App Store and TestFlight are for Apple Developer Program members only. We cover the fee, the waiver and the under-18 rules in Apple Developer Program for students and the business and nonprofit enrollment steps in Apple developer account for a business or nonprofit.
Route 1: a no-code app builder
This is the right route for most local businesses: a restaurant, salon, gym, church or shop that wants a branded app and has no developer. You configure the app in a browser; the builder runs the Xcode step on its own Macs and gives you a build to submit or submits it for you. You work from any computer, including Windows.
Things to confirm before you pick a builder, because they differ and cost real money later:
- Whose developer account owns the app. Insist that the app is published under your own Apple Developer account, so you can move it later. An app stuck in the builder's account is hard to take with you.
- Who handles signing and submission. Some builders walk you through certificates and App Store Connect; others do it for you. Both are fine if the account is yours.
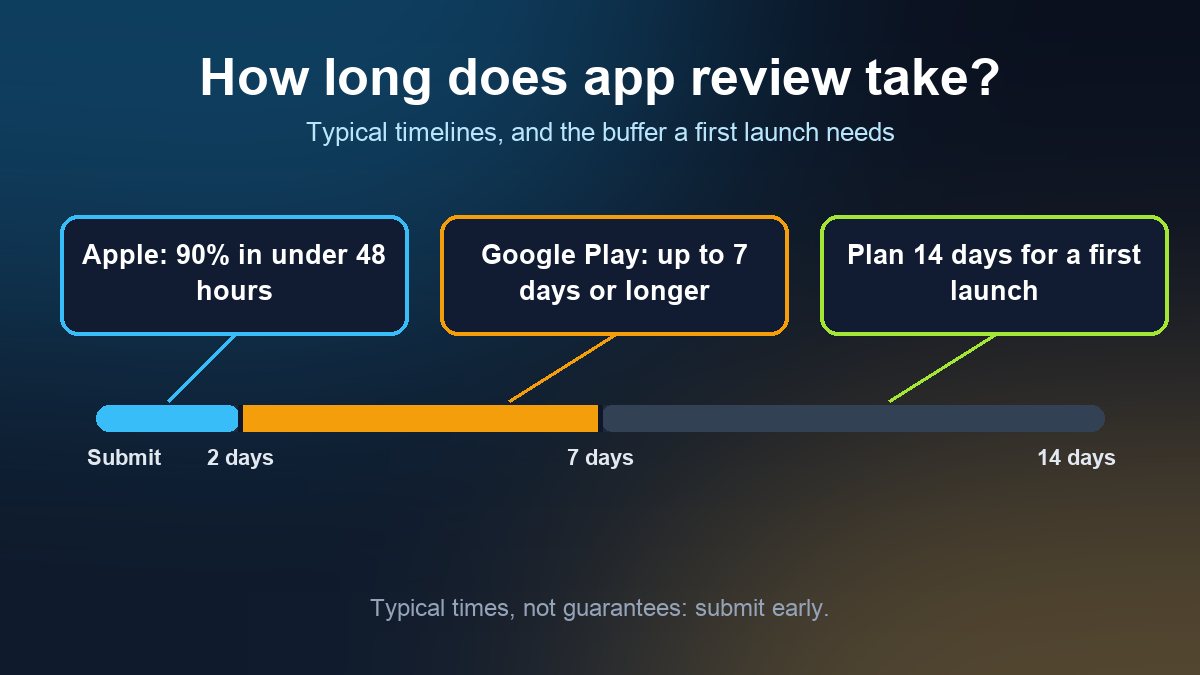
- Whether you need review-ready content. Apple can reject a thin wrapper app, so plan for real features. See how to submit an app to the Apple App Store and how long review takes.
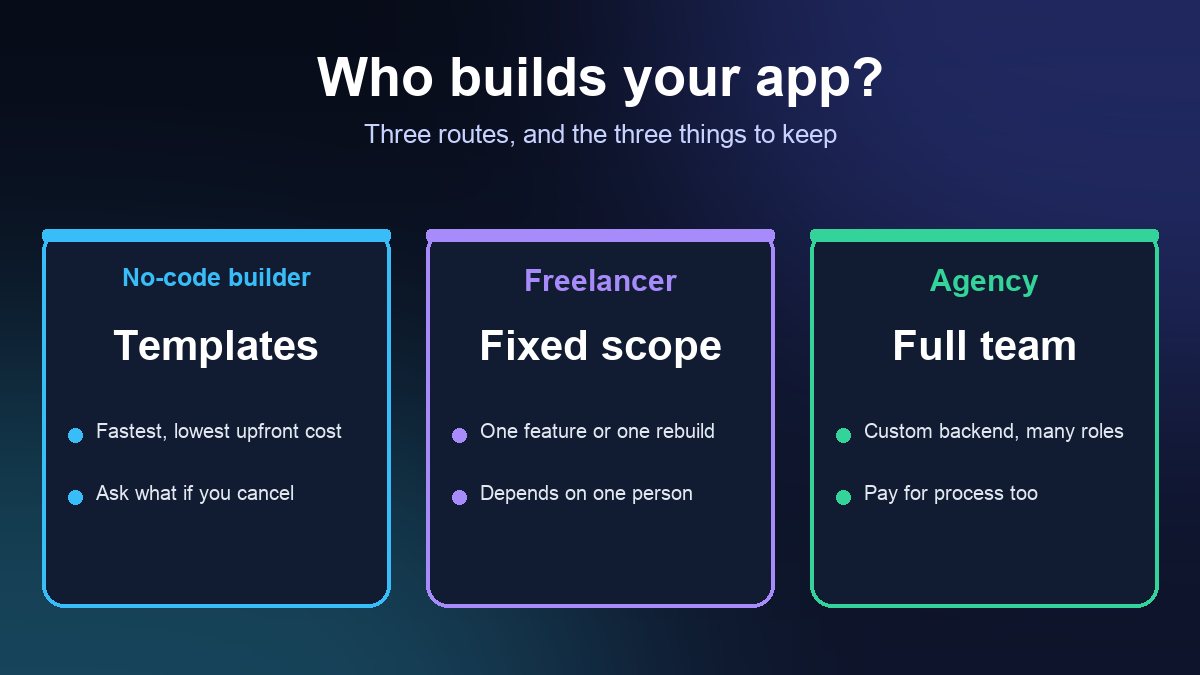
If you are weighing this against hiring a developer, building a mobile app without coding and what an app really costs to build put the numbers side by side.
Route 2: cloud builds for code you or a developer write
If the app is written in Flutter, React Native or Expo, the code can be edited on Windows or Linux, and a hosted Mac compiles the iOS version. The three services most people start with publish free allowances you can check yourself:
- Expo Application Services (EAS). Expo's pricing page lists a Free plan at 0 USD per month that includes 15 Android and 15 iOS builds in a low-priority queue, with paid plans above it. Expo's documentation states that iOS builds run on macOS machines. Low priority means a build can wait in a queue, which is fine for a first app.
- Codemagic. Its pricing documentation says individuals get 500 free minutes per month on macOS M2 machines on a personal account, reset on the first of each month; the free minutes are not available on a team account. Extra macOS minutes are charged by usage, and Codemagic lists Xcode 26.x versions among its build machines, which matters for the April 2026 SDK rule.
- GitHub Actions. GitHub's billing documentation says standard GitHub-hosted runners are free in public repositories, while private repositories draw on the minutes included in your plan. macOS runners are among those you can pick for an iOS build job. Check the current macOS rate before you rely on a private repository.
A cloud build still needs code signing: a certificate and provisioning profile tied to your paid Apple account, which these services help you create. The usual flow is build in the cloud, upload to App Store Connect, then install through TestFlight on a real iPhone. You will need access to one iPhone for that final test, so borrow a friend's or an employee's if you do not own one.
Route 3: an iPad with Swift Playground
Apple's Swift Playground page says you can write apps in Swift on iPad and "submit your app to App Store Connect" when done, and its App Store Connect help lists Swift Playground as an upload tool. It suits learners and small, simple apps. It is not a replacement for Xcode on a large project, but it is the only first-party route that needs no Mac at all. You still need the paid membership to publish.
Route 4: rent or borrow a Mac
When you need real Xcode, for a native feature a cloud service does not support or for debugging a crash, you have two legitimate choices. You can borrow a Mac from a friend, school or coworking space for a few hours, or you can rent a Mac in the cloud and connect to it from your computer by remote desktop. Rental prices and terms vary by provider, so compare them yourself, and make sure the machine runs an Xcode version that meets the current SDK rule above.
The shortcut to skip: macOS on a non-Apple PC
Guides sometimes suggest running macOS in a virtual machine or on a home-built PC. Apple's macOS license for Tahoe 26 is titled "For use on Apple-branded Systems", and the software is licensed for Apple-branded hardware. Building a business app on a setup that breaks the license is a risk to your developer account for the sake of saving a few hundred dollars, and it tends to break with every macOS update. Use a cloud service or a real Mac instead.
Which route fits you
- You run a business and have no developer: a no-code builder (Route 1), published under your own Apple account.
- You or your freelancer write Flutter, React Native or Expo code: a cloud build service (Route 2). Start on the free tiers and check the queue times.
- You are learning or making a small personal app: Swift Playground on an iPad (Route 3), or a borrowed Mac.
- You need native Xcode features: a borrowed or rented Mac (Route 4).
A realistic first-year cost is 99 USD for the Apple membership, plus a builder subscription or 0 USD on the free build tiers, plus 25 USD once if you also publish on Google Play. Android needs no Mac at all, so if budget is tight, shipping Android first and adding iPhone once the app earns money is a common order. Our Google Play publishing guide covers that side.
Before you start: a short checklist
- Enroll the Apple Developer account in the name that should appear as the seller, using the legal entity if it is a business.
- Confirm the route's Xcode version is 26 or later.
- Have an iPhone available for a TestFlight test.
- Prepare the privacy details Apple asks for; see app privacy labels and data safety.
- Budget for review time and one rejection round.
Sources: Apple Developer, Upcoming requirements; Apple Developer, Xcode support; Apple, Upload builds (App Store Connect Help); Apple Developer, Swift Playground; Apple Developer, Compare memberships; Apple, Software license agreements (macOS); Expo, Pricing and EAS Build; Codemagic, Pricing; GitHub, GitHub Actions billing. All pages checked 5 November 2026.
Frequently asked questions
Can I build an iPhone app on a Windows PC?
You can write the code on Windows, but the iOS build itself has to run on a Mac. A cloud build service such as EAS Build, Codemagic or GitHub Actions runs Xcode on its own Macs for you, and a no-code builder does the same behind the scenes.
Do I still have to pay Apple if I do not own a Mac?
Yes. Not owning a Mac does not change the fee: distributing through the App Store or TestFlight requires Apple Developer Program membership at 99 USD per year. Building and testing on your own device is free with an Apple Account.
Can I run macOS in a virtual machine to use Xcode?
Apple's macOS license is written for use on Apple-branded systems, so running it on a non-Apple PC is outside the license and risky for a business app. Use a cloud build service, a rented cloud Mac or a borrowed Mac instead.